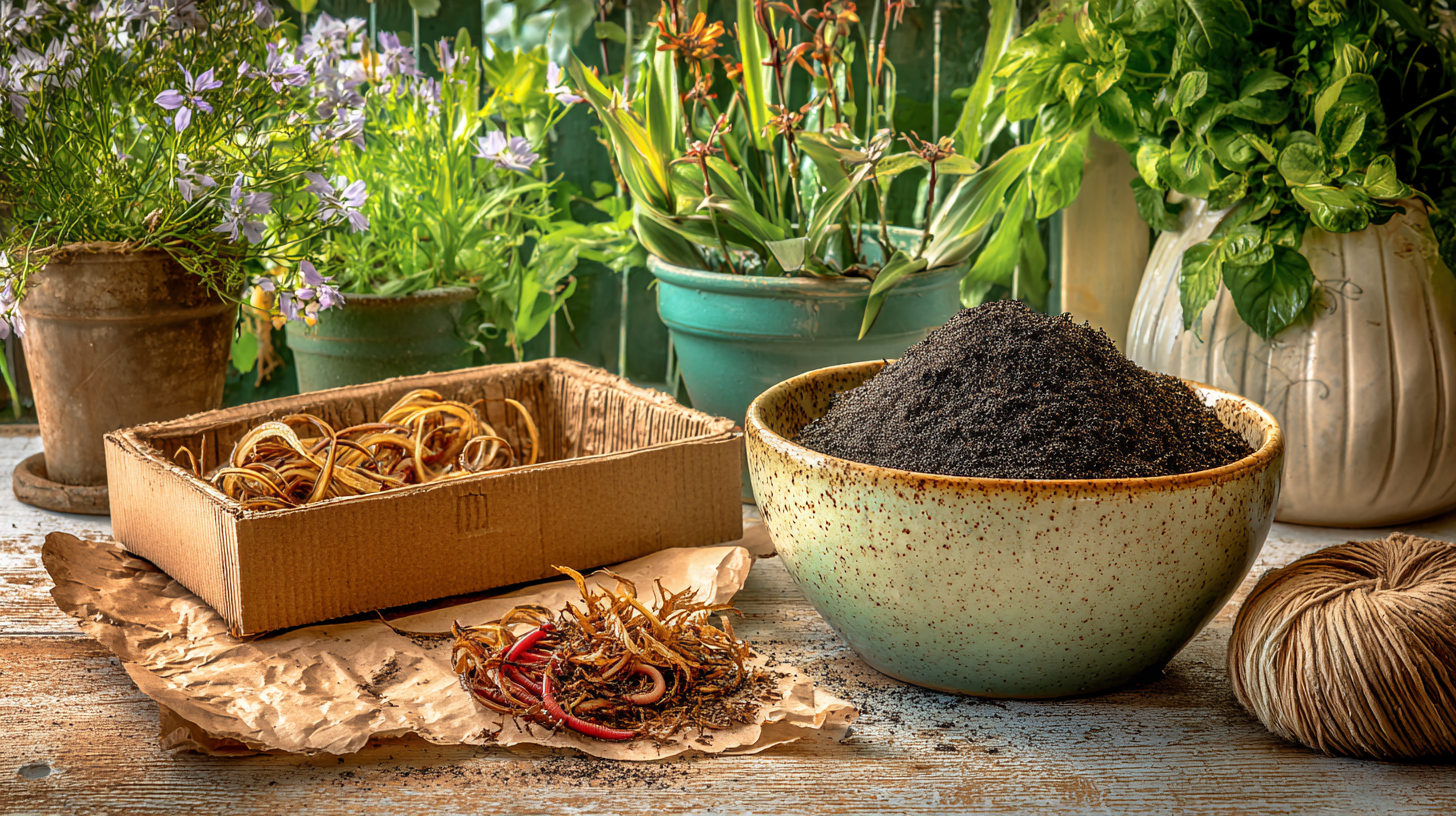
There is something ridiculously satisfying about lifting the lid on a little bin of yesterday’s vegetable peels and realizing they are on their way to becoming beautiful, dark soil food. ✨ Worm farming turns things you already have — coffee grounds, produce scraps, torn cardboard, even plain paper — into something your garden can actually use. And once the bin finds its rhythm, it is wonderfully simple.
I started worm farming because I hated throwing away so many vegetable peels, coffee grounds, and other kitchen scraps. I wanted those leftovers to do something useful instead of heading straight to the trash.
The lovely part is that you do not need a fancy stacked worm tower. You do not need specialty bedding. You do not need a big garden, either. A basic worm farm can live in a small, shaded spot, and many of the materials can come straight from what you already have at home.
There is one little learning curve, though: the worms set the pace. Once I stopped treating the bin like an endless scrap bucket and started paying attention to what was actually happening inside it, everything got easier. Let me show you the benefits, the setup, and the simple balance that keeps a worm bin sweet-smelling and productive. 🤍
One small bin can help you waste less, build better soil, and make an incredibly useful garden amendment from things that were already passing through your kitchen. That is a pretty wonderful little cycle! ✨
Worm farming turns everyday kitchen scraps into something your garden can use
The first big benefit of worm farming is wonderfully obvious: food scraps stop being just waste. Fruit and vegetable trimmings, coffee grounds and filters, paper tea bags without staples, and other suitable plant-based scraps can become feedstock for a living compost system.
The worms do not work alone. Microorganisms help break down the food, and the worms consume the softened organic matter and microbes. Over time, the contents become vermicompost, often called worm castings.
That finished material is dark, fine, and crumbly. It works as a soil amendment rather than just another pile of half-rotted scraps.
Worm composting also fits into small spaces. A properly managed bin can work indoors, in a basement or utility area, or outside in a protected shady spot. That makes it especially handy when a full backyard compost pile is not practical.
You can build a basic worm farm with things you already have
You can buy beautiful commercial worm systems, but you do not need one to begin. A reused plastic storage tote can work well when it has enough air circulation and a way to prevent water from pooling around the worms.
For bedding, torn non-glossy cardboard, plain paper, or shredded newspaper are useful choices. Moisten the bedding until it feels damp like a wrung-out sponge, then fluff it so air can move through it. Worms need moisture, but they also need oxygen.
The one part you cannot simply replace with whatever is in the backyard is the worms themselves. Composting systems usually use red wigglers, commonly identified as Eisenia fetida. Ordinary garden earthworms and large night crawlers live differently and are not the right choice for a small food-scrap bin.
If you want to keep the startup cost at zero, ask a friend, community gardener, local composting group, or another worm keeper whether they can spare a starter handful of red wigglers. Established worm populations reproduce, so sharing extras is common among people who already keep bins.
Once you have the worms, the ongoing inputs can be almost comically inexpensive: kitchen scraps for food and household paper or cardboard for bedding.
The biggest beginner secret is simple: do not overfeed the worms
This is the lesson I learned the messy way. Early on, I fed my worms too much at once. The scraps piled up faster than they could process them, the bin got overly wet, and fruit flies moved in.
What fixed it was not complicated. I stopped adding food for a while, mixed in plenty of torn-up cardboard, and let the worms catch up. Then I restarted with smaller feedings.
Now I use one simple check before I add anything else: I look at the bedding. If there is still a lot of recognizable food left from the last feeding, I wait.
That one habit keeps the bin tied to the worms’ actual appetite instead of the amount of scraps my kitchen happens to produce. It also lines up with one of the most useful rules in vermicomposting: add more food only after most of the previous feeding has been consumed.
[IMAGE: Two views of worm-bin feeding, one with a small buried portion of chopped vegetable scraps and one overcrowded with too many wet scraps
Alt Text: How much to feed a worm farm without overfeeding or creating fruit flies]
A healthy worm bin should smell earthy, not rotten
One of the nicest surprises about worm farming is that a well-balanced bin does not need to smell like garbage. A healthy system should have a mild, earthy smell.
A rotten or sour odor is useful information. It often points to too much food, too much moisture, exposed scraps, poor airflow, or some combination of those conditions.
If the bin becomes wet and smelly, stop feeding temporarily. Add dry torn cardboard or paper, gently fluff compacted bedding, and make sure excess moisture can escape. Remove large masses of rotting food if the worms clearly cannot catch up.
Fruit flies usually tell a similar story. Food that sits exposed gives them an easy place to breed. Bury fresh scraps and cover them well with bedding. If flies are already there, reducing food and adding more bedding can help bring the system back into balance.
That is exactly what happened with my early bin. Once I cut back the food and added cardboard, the swampy feeling disappeared. When I finally got the balance right, the bin smelled earthy instead of rotten.
Worm castings can improve the texture and moisture-holding ability of soil
This is where the whole process starts feeling like garden magic. Finished vermicompost adds organic matter and has a fine, porous texture. Research and extension guidance describe worm castings as useful for improving soil structure, porosity, and water-holding capacity.
I noticed that difference after mixing my finished castings into the soil around garden plants. The soil held moisture better, and the texture felt much richer and looser.
The castings themselves gave me another clue that the bin was working properly. They were dark and crumbly, without piles of recognizable fresh food mixed through them.
Vermicompost also contains plant nutrients in forms that can contribute to soil fertility. Think of it as a soil amendment first: it helps create a better growing environment while returning nutrients and organic matter to the garden.
You do not need to replace all your soil with castings. Mix a modest amount into potting soil, work some into planting areas, or use a thin layer around established plants and let watering carry the goodness downward.
Worm farming helps create a simple closed loop between your kitchen and garden
There is a bigger benefit hiding inside this tiny bin. Worm farming connects two things that often feel separate: what leaves the kitchen and what feeds the garden.
A carrot peel can become worm food. Torn cardboard can become bedding. The worms and microbes transform those materials into castings. Then the castings go back into soil where vegetables, herbs, flowers, and houseplants can grow.
That loop also makes you notice your household waste differently. Instead of seeing every peel or coffee filter as something to throw away, you start sorting it by usefulness. Some scraps belong in the worm bin & some are better for another compost system. Some need to stay out entirely.
It is a small change, but it can make a household feel much less wasteful without adding an expensive gadget or complicated routine.
What to feed a worm farm — and what to leave out
Worm bins do best with simple plant-based kitchen scraps and plenty of bedding. Good choices include fruit and vegetable trimmings, coffee grounds, paper coffee filters, and paper tea bags with staples or plastic parts removed.
Go easy on foods that are very acidic or strongly aromatic, including large amounts of citrus, onions, and garlic. Different guidance varies a little on these foods, so moderation is the easiest beginner approach.
Leave out meat, fish, bones, dairy, greasy foods, oils, and pet waste. Those materials create odor and pest problems that a little household worm bin does not need.
Also remember that watery foods add moisture as well as nutrition. Melon, coffee grounds, and other wet scraps can quickly push a bin from pleasantly damp to soggy if they arrive in large amounts.
Questions people ask about the benefits of worm farming
What are the main benefits of worm farming?
Worm farming reduces the amount of suitable kitchen waste going into the trash and turns it into vermicompost for the garden. A small bin can work in limited space, including indoors when conditions are managed well. The finished castings add organic matter and can improve soil structure, porosity, moisture retention, and nutrient availability. It is also a wonderfully low-input system because food scraps become feed and torn household cardboard or plain paper can become bedding.
How often should I feed worms in a worm bin?
Feed according to what the worms have already eaten rather than following a rigid calendar. Before adding more scraps, check the previous feeding. If plenty of recognizable food is still there, wait. A new or lightly stocked bin may need surprisingly small portions at first. As the worm population grows and the system becomes established, it can handle more. Bury the food and cover it with bedding each time so the feeding area stays less attractive to flies.
Why does my worm bin smell bad?
A healthy worm bin should smell mild and earthy. A foul smell often means the bin has too much food, too much moisture, exposed scraps, or not enough airflow. Stop feeding for several days, remove any large amount of rotting food, add dry bedding, and gently fluff compacted material. Check that liquid is not pooling at the bottom. Once oxygen and moisture return to balance and the worms catch up, the unpleasant odor should fade.
How do I get rid of fruit flies in a worm farm?
Start by taking away what fruit flies love most: exposed, uneaten food. Pause or reduce feeding, bury remaining scraps, and cover the surface with a generous layer of bedding. Add torn cardboard if the bin is too wet. Going forward, feed smaller portions and wait until the worms have processed most of one feeding before adding another. Chopping scraps smaller can also help them break down faster. Prevention is much easier when no fresh food is left sitting uncovered.
What should you not put in a worm bin?
Skip meat, fish, bones, dairy, oily or greasy food, and pet waste. These can create strong odors and attract pests. Large amounts of citrus, onions, and garlic are also best avoided, especially in a small beginner bin. Remove plastic produce stickers, tea-bag staples, synthetic tea bags, and anything else that will not break down. Plain fruit and vegetable scraps, coffee grounds, and paper-based bedding keep the system much simpler.
How do I know when worm castings are ready to use?
Finished vermicompost looks dark, loose, and crumbly, with much less recognizable bedding or food remaining. Depending on the size of the bin, worm population, and feeding rate, a batch can take several months. One easy harvesting method is to feed on only one side for a couple of weeks. The worms migrate toward the fresh food, allowing you to remove more finished material from the other side with fewer worms mixed into it.
Can I really start worm farming for free?
You can get very close — and sometimes truly spend nothing — if you already have a suitable container and can source composting worms from another worm keeper. A reused tote can become the bin, torn non-glossy cardboard and paper can become bedding, and kitchen scraps become feed. The important catch is the worms: use a suitable composting species such as red wigglers. Do not assume worms dug from ordinary garden soil will thrive in a food-scrap bin.
A little bin can make a surprisingly big difference
Worm farming is one of those wonderfully practical projects that makes more sense the longer you do it. Kitchen scraps become feed, household cardboard becomes bedding, and the finished castings go right back to the soil. You can start small, learn the rhythm of your bin, and increase feeding only as the worms are ready for it.
The best lesson I learned was also the simplest: let the bin tell you what it needs. If food remains or if things get too wet, add bedding. When the bin smells earthy and the castings are dark and crumbly, you are moving in the right direction. Those benefits of worm farming go far beyond making compost — they turn everyday leftovers into a useful little cycle between your kitchen and your garden. And that is garden gold worth getting excited about. 🤍